See How to Apply Nanolash DIY Eyelash Extensions Fast and Enjoy Long-Lasting Results!
DIY eyelash extension? It sounds like dreams come true. In most cases, women hurriedly seek some time slots at the beautician’s to get lash extensions done. You don’t need that if you have DIY lash clusters. See how to apply lash extensions fast at home and enjoy long-lasting results!
DIY eyelash extensions – how to apply cluster lashes?
Eyelash extensions have become an essential part of women’s beauty routines recently. They dream of defined lash fans to seduce. Sadly, some haven’t been presented with wow lashes by Mother Nature.
Not every woman can boast defined, long lashes with a lovely curl. Often, we can’t achieve the commercial-worthy effect with mascara or lash serum. That’s why the DIY lash extensions from Nanolash are worth checking.
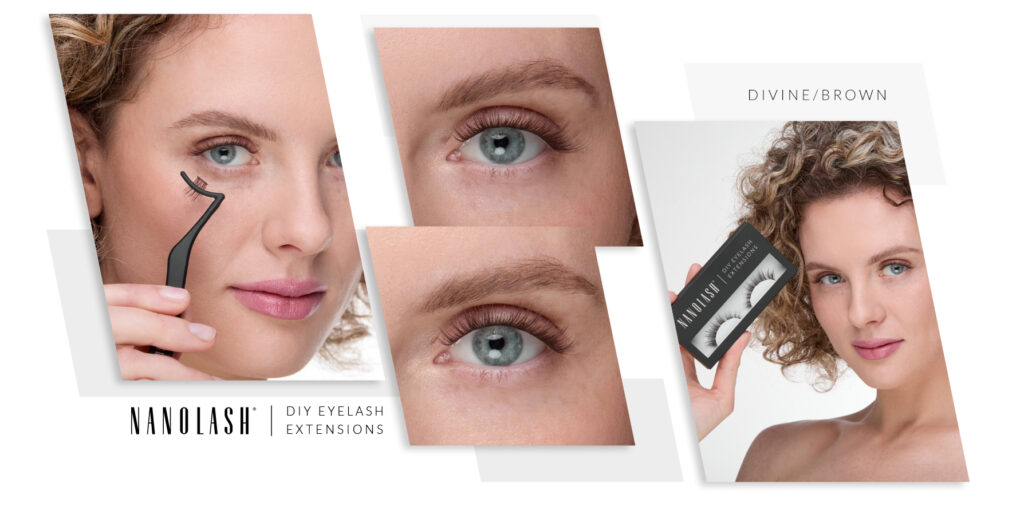
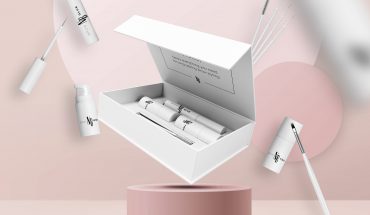
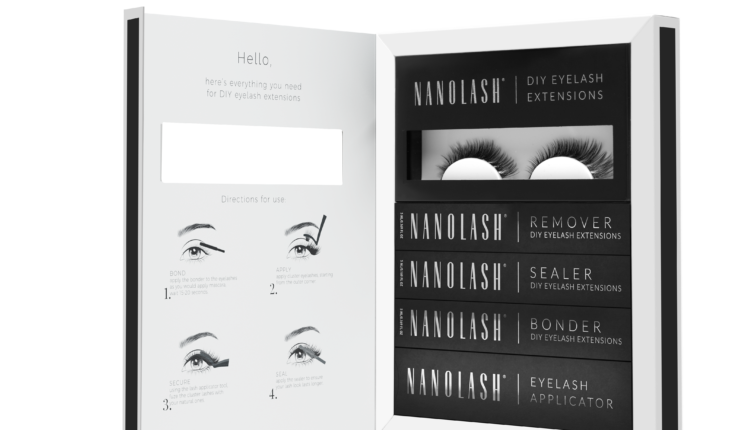
The Nanolash DIY lash extensions include 8 types of clusters in 3 sizes. The case contains 10 mm, 12 mm and 14 mm lashes. If you like, you can get a lash extension set which additionally includes:
- bonder Nanolash – special adhesive, 5 ml, it needs 30 to 60 seconds to get sticky.
- sealer Nanolash – the product for removing the stickiness after applying cluster lashes.
- remover Nanolash – for quick and easy removal of false lashes.
- tweezers Nanolash – made from stainless steel, for easy application.
The premade cluster lashes paired with essential accessories will allow you to perform esthetic and durable lash extension lasting for even 5 days!

How to apply lash extensions? Application of cluster lashes step by step
The long-lasting eyelash extensions by Nanolash are easy to apply, and blend seamlessly with natural lashes. The thin, flexible strips are barely noticeable on the lash line. How to apply eyelash extensions? We share a step-by-step guide that every woman will find useful!
1. Thorough makeup removal and getting eyelids ready
Removing makeup precisely is the first step you need to take when you apply DIY lash extensions. You need to make sure there’s no makeup residue on the lashes or eyelids. It’s advised to avoid oil-based makeup removers.
2. Applying a coat of the bonder
After removing makeup, you apply just one coat of the bonder all over the lashes. The glue needs a moment to become tacky enough. During this time, you can pick out the Nanolash cluster lashes you like.
3. Application of cluster lashes
The box includes 36 pieces of DIY lash clusters in different sizes. Once you pick out the ones you like, you can get to applying. Remember to place them at the base of natural lashes around 1 mm from the lash line. When you’re done applying the cluster lashes, you just need to press them gently.
4. Removal of the tacky coating
When you apply cluster lashes, there may be a sticky coat from the bonder. Using the sealer, you can easily remove it and then comb through lashes so they blend with natural hairs.
The whole treatment should take 10 minutes tops. One application requires 4 or 5 clusters which means the box will be enough for even 4 uses!
Luxury cluster lashes Nanolash – for the most stunning lash looks
Nanolash released luxury cluster lashes for DIY lash extension. They are easy and comfortable to apply as well as extremely long-lasting. You can wear them for any occasion, a walk with your bestie, family dinner or office party.
Various styles and sizes of the DIY lash extension by Nanolash allow you to create any lash style you want – from dramatic to natural. Women dreaming of wow lashes can now achieve the goal in just 10 minutes. That’s all you need to apply the Nanolash DIY Eyelash Extensions!